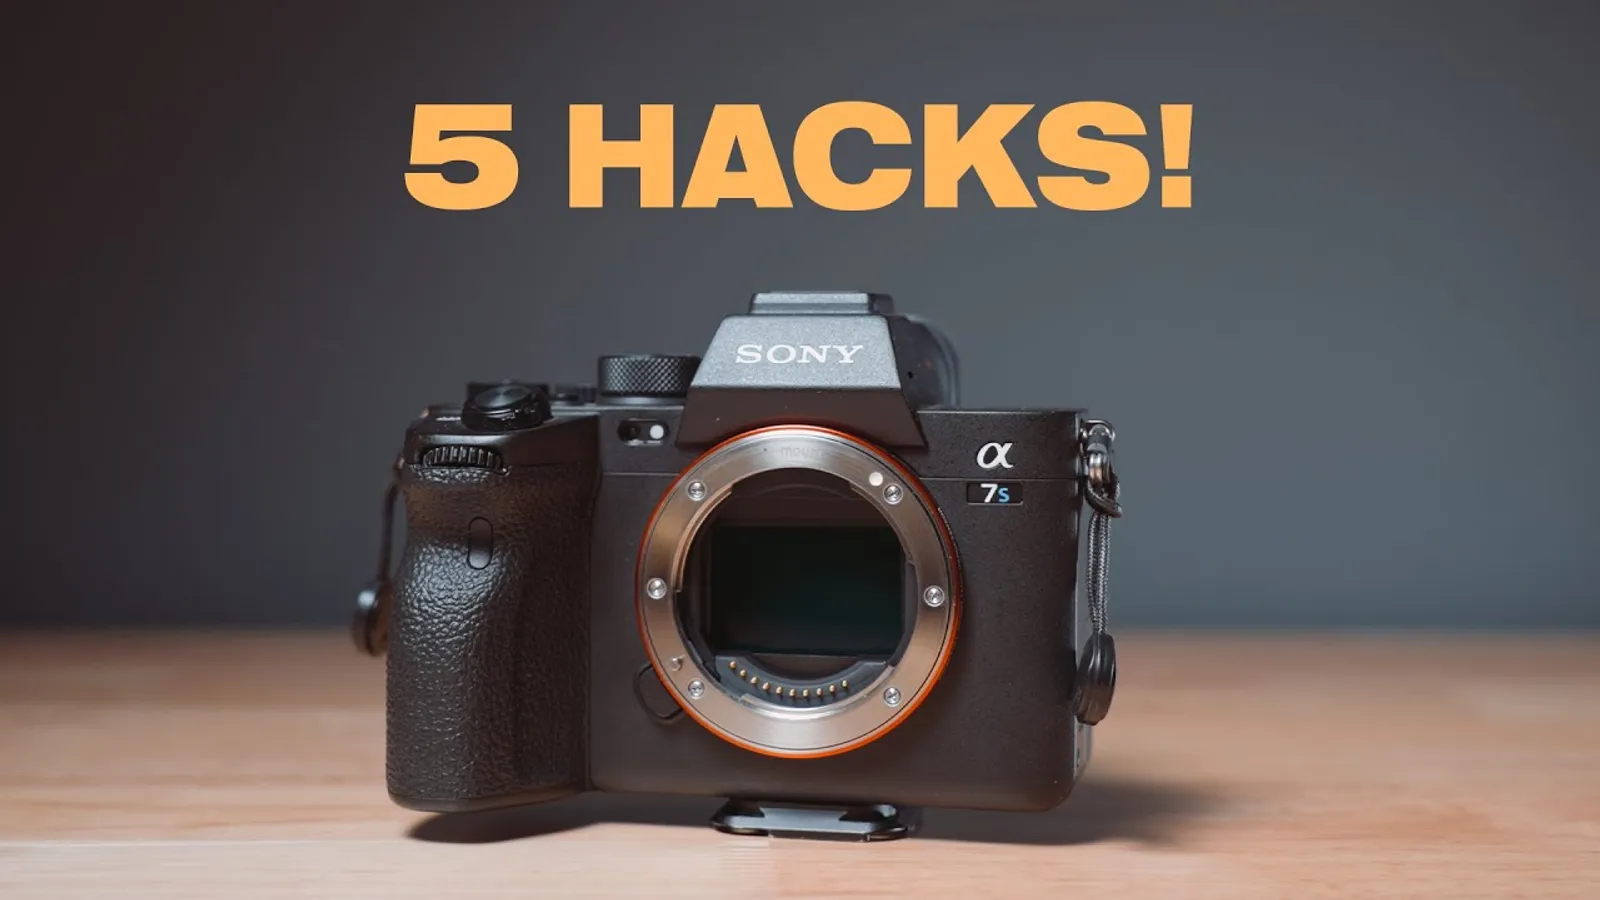
There’s nothing that disturbs the creative flow more than fumbling around and going through menu settings in the middle of a shoot. A camera is a tool, and the better you can know it, the better you can use it. This goes for any camera you have, so if you have a newer camera, or older camera, take time to understand it so you can be the best creative person possible when working.
Today, we’re sharing 5 hacks for Sony cameras that can significantly help the efficiency with which you operate your camera.
TIP 1: WHITE BALANCE
Sony offers so many different white balance settings in the camera that it can be overwhelming. There are so many different options and it would be nice to have a quick and easy way to access the ones you use regularly. Thankfully Sony offers 3 custom white balance settings at the bottom of this menu and here’s how we’re going maximize these settings. In this example, we show you how to lock and cycle between 3 different white balances with ease.
TIP 2: MY MENU BUTTON
Just about everyone under the sun has complained about the Sony menu system, and thankfully a way around this is to set up the MYMENU tab. This will look different for everyone but take some time going through the menu and adding the things you use most when shooting. You can separate items into pages as well so for example if you want all your video settings on one page and your audio settings on the other you can do that too. This is another way to speed up your workflow when shooting.
TIP 3: FUNCTION TAB
Contrary to popular belief the function tab isn’t just a quasi-gimmicky feature. Think of this as another way to quickly access things from your camera that you don’t necessarily want to dive through the menus or save to a custom button. You can add up to 12 different things to this menu and it again… makes your shooting experience so much faster and more efficient. The possibilities are endless so spend some time here as well because this feature will help you so much on future projects.
TIP 4: FOCUS AREA
Just like the white balance settings, there are so many different options of focus areas, and most only use 2 of them. If you’re like us and only use a couple of the options you can get rid of the ones you don’t use. Just go down to the AFMF tab> Focus Area > Focus Area Limit > Then uncheck the ones you don’t use hit okay, and now you can toggle through the focus area options that you like to use
TIP 5: PICTURE PROFILE
This option can be helpful for the person who cycles back and forth between different picture profiles depending on the project you’re shooting, if you’re working on a short film and want to do color grading you’ll probably want to shoot in slog 3. But, if you’re working on a corporate video where they need a quick turnaround maybe you’ll be shooting on S-cinetone. It’s a pain to scroll all the way down to find the right picture profile so a way around this is to copy the profiles you like and save them to the top of the menu, just choose the picture profile settings you like> scroll down to copy > then choose the number you’d like to save it to. Now that way you can spend less time scrolling and more time shooting.
