- Buyer protection on every order
Adventure Photography Gear: Building a Durable Used Kit Like a Nat Geo Climber
Beth Rogers
Aug 10, 2026
KEY TAKEAWAYS
- The short answer: Building a rugged adventure photography gear kit does not require a Nat Geo budget. A weather-sealed used mirrorless body, one fast wide zoom, a 70-200mm equivalent, a compact carbon tripod, and hard-case protection will get you the cliffside look for a fraction of new retail.
- Weather sealing beats resolution. A sealed older body outperforms an unsealed newer one the moment it starts raining sideways.
- Weight is the real spec. Every gram matters when the kit hangs off a harness. Adventure photography gear gets chosen by what you are willing to carry at hour six.
- Buy used, buy sealed, buy redundant. Two used bodies often cost less than one new one, and redundancy matters more than newness in the backcountry.
- Cosmetic wear is your friend. Adventure photography gear on the used market is frequently discounted for scuffs that have zero effect on image quality.
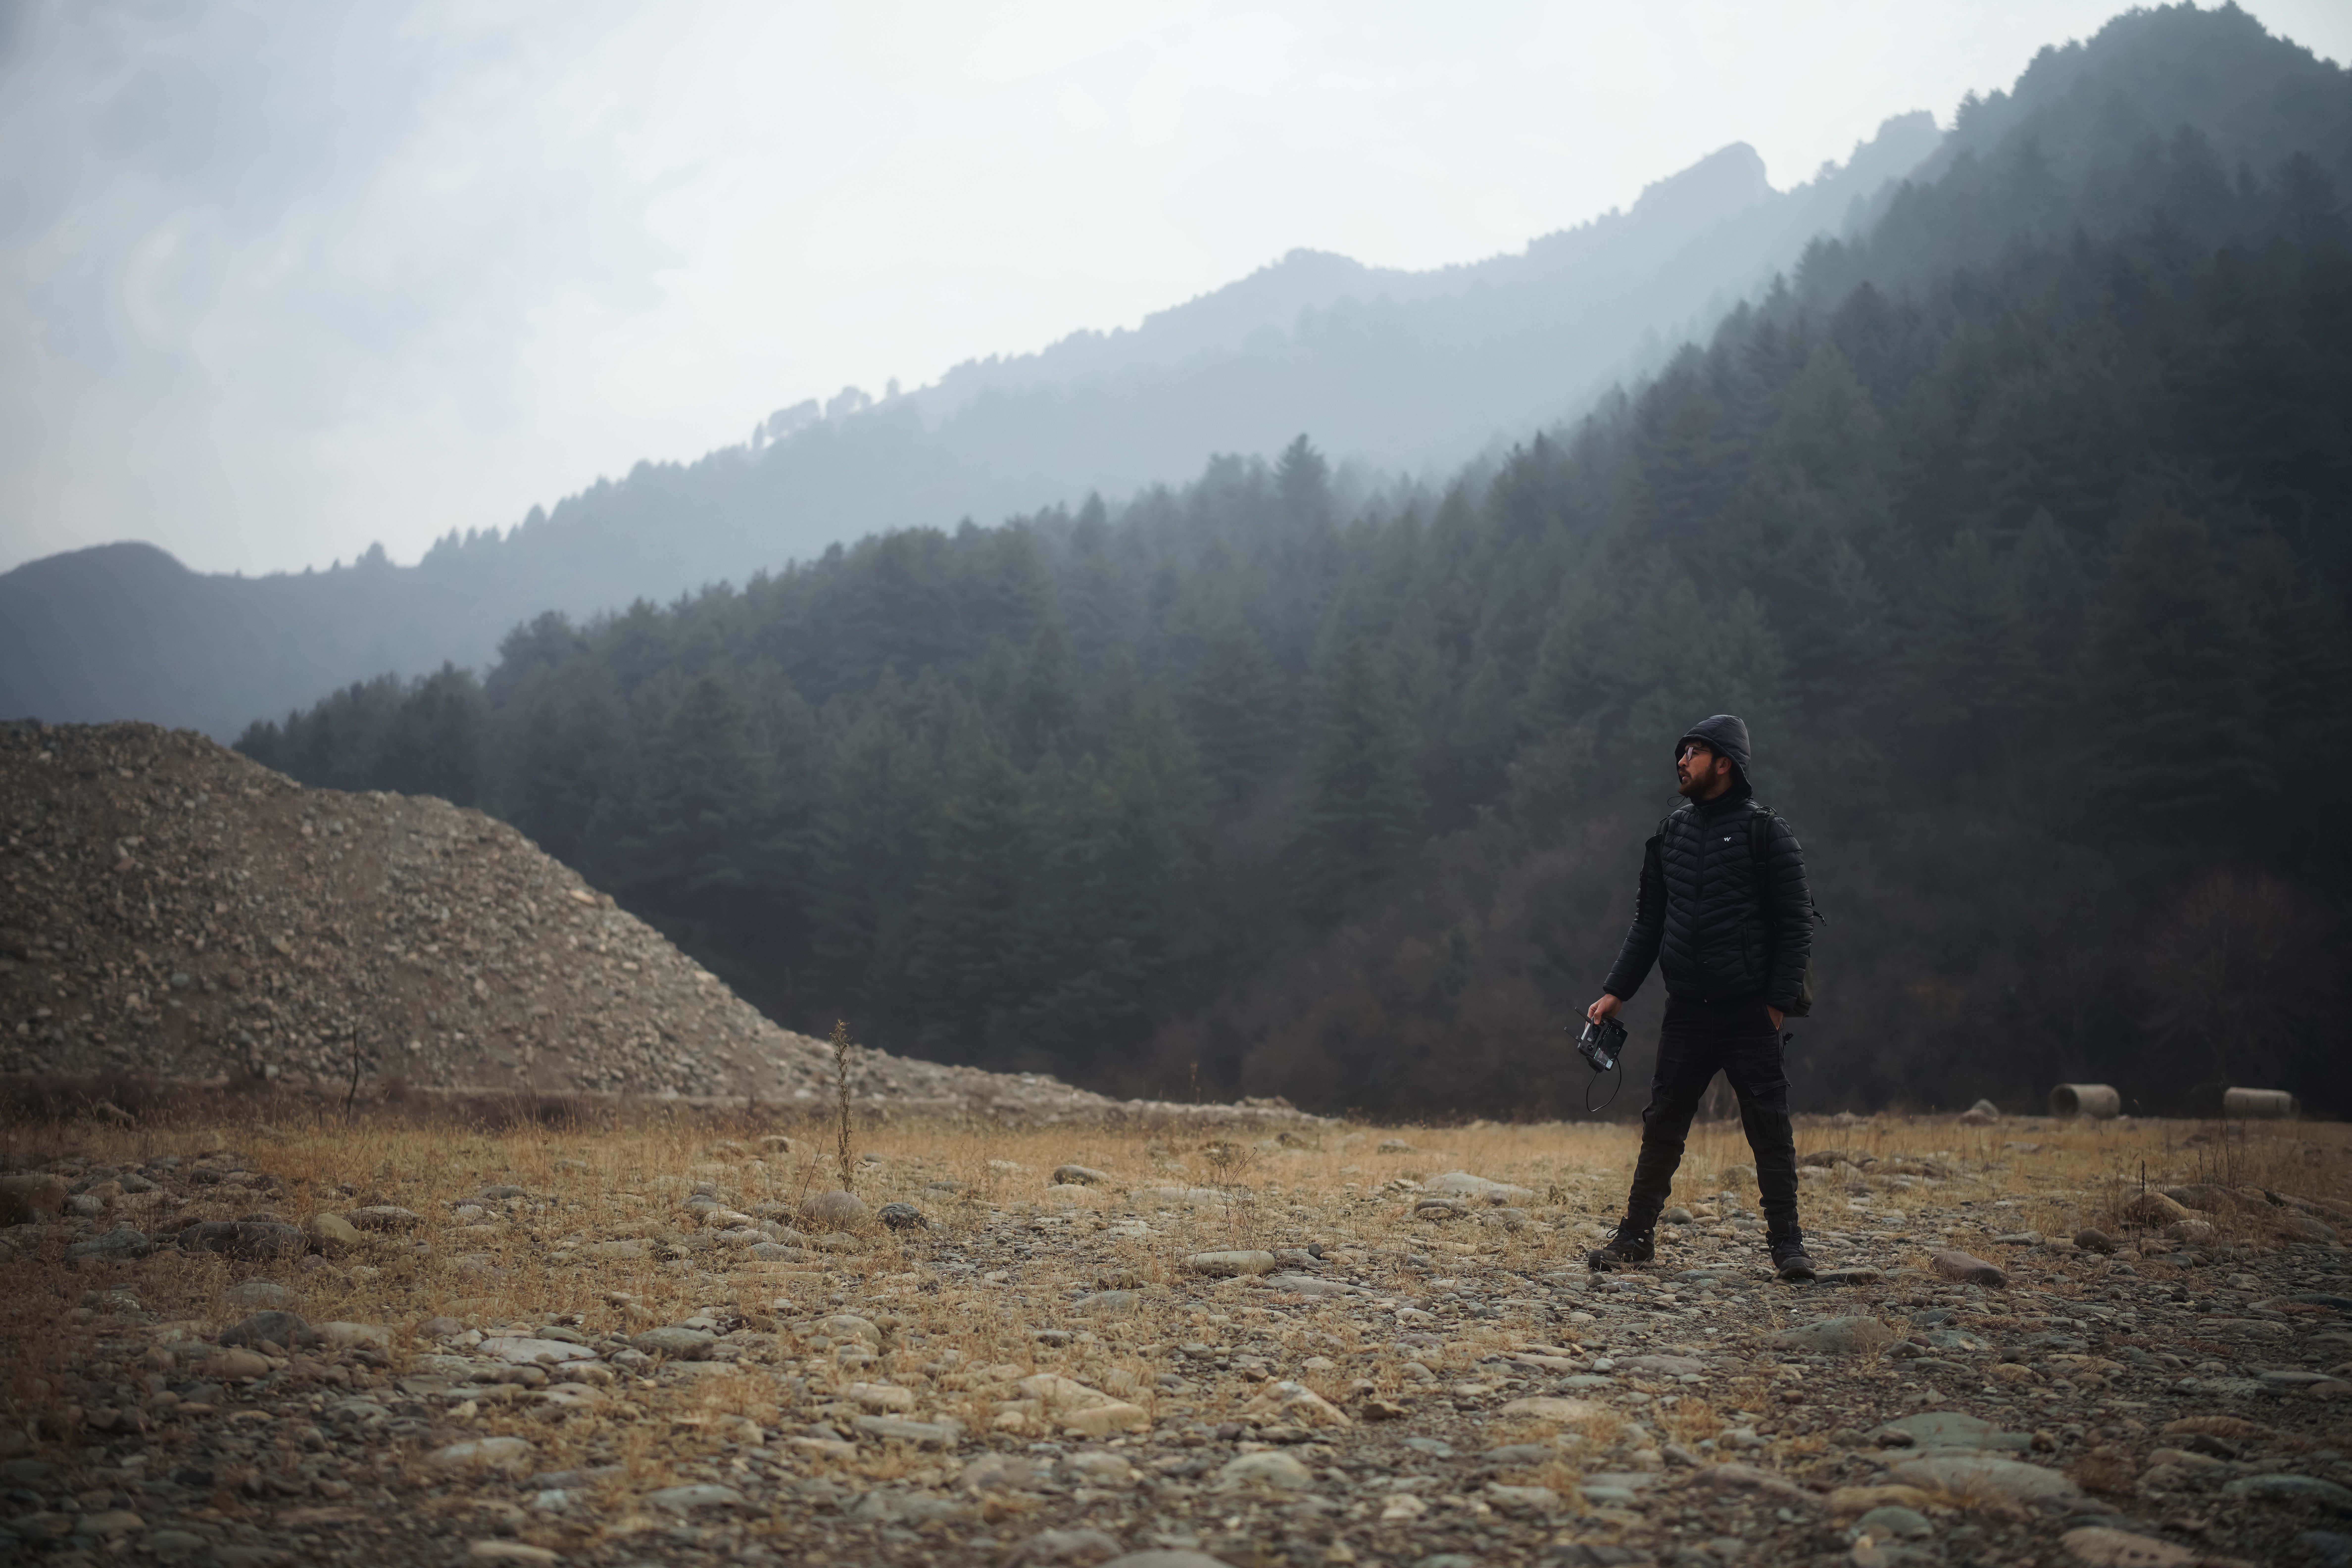
Picture the working position: 400 feet of air under your boots, a static line running through an ascender, the rope humming faintly in a crosswind that smells like wet granite and cold pine. Your right hand is on a camera. Your left is on the rope. There is no bag to set down, no table, no assistant, no second take. Whatever adventure photography gear is clipped to your harness right now is the entire kit.
That is roughly the working reality DPReview described in its profile of National Geographic photographer and climber Andrew Kornylak, who shoots hanging off cliff faces for a living. It is an extreme version of a problem every outdoor shooter has: too much gear, not enough hands, and weather that does not care about your investment.
Here is the useful part. The thinking behind that kind of kit translates directly to a budget build. You are not buying his exact bodies. You are buying his logic, applied to the used market, where adventure photography gear that has already taken its first scratch sells for meaningfully less than the pristine version.
What Actually Goes in a Rugged Kit
Strip the aspiration out and a cliff kit is four categories: a sealed body, a wide zoom, a longer reach option, and the support and protection that keeps the first three alive. Everything else is optional. The table below maps the aspirational tier against what the same role costs on the used market.
| Role in the Kit | Aspirational Reference | Used-Market Stand-In | Why It Works |
|---|---|---|---|
| Primary body | Current flagship pro mirrorless | Previous-generation weather-sealed full-frame mirrorless (Canon EOS R6, Sony A7 III, Nikon Z6 II) | Same sealing philosophy, sensor is more than enough for print, price drops hard once a successor lands |
| Backup body | Second matching flagship | Sealed APS-C body from the same mount family | Redundancy without doubling weight or cost; crop factor adds free reach |
| Wide zoom | Current f/2.8 pro wide | First-generation 16-35mm f/4 or f/2.8, or a 24-70mm f/2.8 | Optical performance barely moved between generations at these focal lengths |
| Long reach | 70-200mm f/2.8 latest version | 70-200mm f/4 or an earlier f/2.8 revision | The f/4 version is dramatically lighter, which matters more than a stop when it is on your back |
| Support | Full-size carbon pro tripod | Used travel-size carbon tripod | Carbon does not corrode, folds short enough to strap to a pack, and used prices are soft |
| Protection | Custom hard cases | Used waterproof hard case plus a dry bag | Hard cases are essentially indestructible, so used ones perform identically to new |
Total for the used build: broadly a third to half of buying the aspirational column new, depending on mount and condition. That is not a rounding error. That is the difference between owning a full adventure photography gear kit and owning a body and a kit lens.
Why Weather Sealing Is the Only Spec That Matters
I ignored sealing early on. Bought the higher-megapixel body over the sealed one because the spec sheet flattered me. Then I shot a coastal session in wind-driven mist for ninety minutes and spent the following week with the camera in a bag of desiccant, praying. It survived. It should not have had to.
Weather sealing is a gasket and labyrinth system around every seam, dial, and door. It is not waterproofing. It is a delay mechanism that buys you the time to finish the frame and get the body into a dry bag. On adventure photography gear, that delay is the entire value proposition.
Two practical rules when shopping. First, the lens has to be sealed too, or the body’s sealing is decorative. An unsealed lens is an open door into the mount. Second, check the battery and card doors on any used body in person or in photos. Those gaskets are the first things to compress, tear, or go gummy, and they are the cheapest thing to replace.
Building the Adventure Photography Gear Kit on a Used Budget
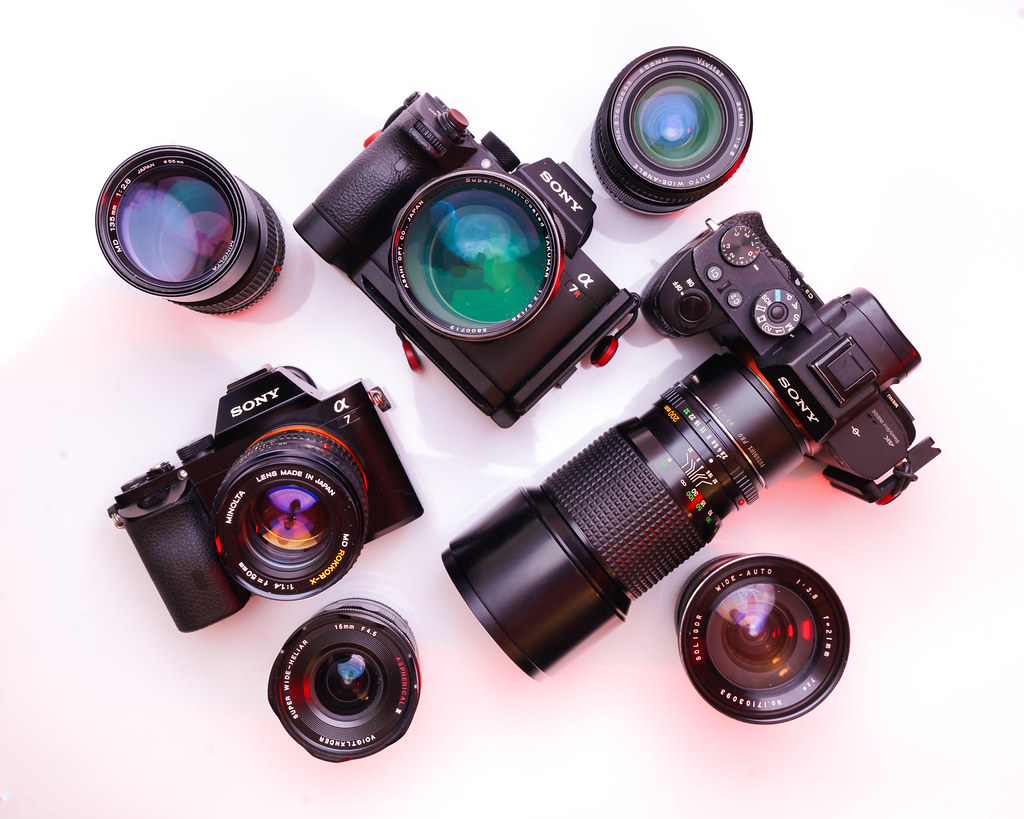
Start with the body, and start one generation back. When a successor launches, the outgoing model’s used price drops while its actual capability stays exactly where it was. That gap is where adventure photography gear buyers make their money.
Look for a full-frame mirrorless body with published sealing, in-body stabilization, and dual card slots if you can get them. Stabilization matters more outdoors than in the studio because you will be handholding at awkward angles, braced against rock, in light that is either brutal or gone. Dual slots matter because you are not going back up the cliff to reshoot.
Then the wide zoom. A 16-35mm covers the classic adventure frame: subject small, landscape enormous, foreground rock filling the bottom third. Earlier versions of these lenses are optically close to current ones. If you are trimming weight, the f/4 variant is usually several hundred grams lighter, and outdoors you rarely need f/2.8 wide open anyway.
The long end is where people overspend. A 70-200mm f/2.8 is a beautiful lens and a genuinely miserable thing to carry up 2,000 feet of elevation gain. The f/4 version does the same compression, the same subject isolation against a distant wall, at close to half the mass. For adventure photography gear specifically, I will take the lighter lens every single time.
The Support and Protection Nobody Budgets For
Here is where most first kits fall apart. People spend everything on glass and then strap it to a bargain-bin tripod that shudders in a breeze.
A used carbon travel tripod is one of the best-value purchases in the entire adventure photography gear category. Carbon does not rust, does not care about salt spray, and dampens vibration better than aluminum. Used ones frequently show scuffed leg sections and worn feet, and neither affects stability. Check the leg locks and the center column threads; that is the whole inspection.
Protection splits in two. Transport protection is a hard case, and used hard cases are essentially as good as new ones because there is nothing in them to degrade. Field protection is a dry bag, a rain cover, and the discipline to use them before you need them. That last part is free and I still forget it.
Filters round it out. A circular polarizer for cutting glare off wet rock and deepening sky, and a three-stop ND for waterfall and river work. Both come up used constantly, and both are worth inspecting for coating scratches before you commit.
How to Inspect Used Adventure Photography Gear Before You Buy
Cosmetic condition and functional condition are two different things, and the gap between them is where the value lives. A body with a scuffed baseplate and a worn grip has usually lived a good outdoor life. That is not damage. That is patina with a discount attached.
What to actually check on any used body: shutter count relative to the model’s rated life, the condition of the door gaskets, corrosion or green residue in the battery compartment, and whether the sensor shows anything beyond routine dust. On lenses: smooth zoom and focus travel with no grinding, no visible fungus or haze under a light, clean rear element, and functioning stabilization if it has it.
Ask the seller directly whether the gear has been in salt air or heavy rain. Most honest sellers will tell you. Salt exposure without a freshwater rinse is the one history that genuinely worries me on outdoor equipment, and it is worth asking about before money moves.
On GearFocus, seller identities are verified, which takes a real chunk of anxiety out of buying used adventure photography gear from someone you have never met. Every purchase also carries the standard 48-hour verification window after delivery, so if the item is not as described, you return it at no charge and the seller covers return shipping. Some sellers offer a 14-day no-questions window on top of that, though it excludes Poor and As-Is listings.
What the Cliff Kit Teaches About Every Outdoor Kit
The single most transferable lesson from a hanging-off-a-rope workflow is subtraction. When the penalty for carrying something is measured in fatigue and rope drag, you stop carrying anything you do not use on most shoots.
Run the audit on your own bag. Anything you have not used in six months is not adventure photography gear, it is ballast. Sell it and put the money into sealing, support, or a second body.
The second lesson is redundancy over novelty. A second used body beats one newer body every time you are somewhere you cannot easily leave. Sensor dust, a dead battery contact, a lens that will not communicate: all of it is trip-ending with one body and a shrug with two.
Third: the kit should be modular. Wide zoom for the establishing frame, long zoom for the compressed detail, and nothing that only does one thing. Specialty lenses are wonderful and they belong in the car, not on the harness.
If you are assembling your first serious outdoor setup from scratch, our guide to building your first professional kit covers the foundation logic in more depth, and the outdoor portrait session kit breakdown is useful if your adventure work includes people rather than pure landscape. Used adventure photography gear in all these categories turns up on GearFocus regularly, and August is a reasonable time to be looking, right as summer-trip sellers start clearing out what they did not end up using.
Timing Your Adventure Photography Gear Purchases
Used prices are seasonal in ways new prices are not. Outdoor gear tends to loosen up in late summer and early fall, when people who bought for one big trip realize they are not repeating it. Right now, in August 2026, is squarely in that window.
Prices generally soften after a successor model launches, then stabilize. Gift season in November and December tightens supply on popular bodies as buyers absorb inventory. If you are patient, buying adventure photography gear in the shoulder seasons tends to work in your favor.
The reverse applies if you are selling. Listing outdoor equipment ahead of spring shooting season, rather than after your last autumn trip, puts it in front of more motivated buyers. GearFocus sellers keep 91.5% of the sale price, so more of that timing advantage stays with you. If you have adventure photography gear sitting unused, listing it is a reasonable way to fund the sealed body you actually want.
BOTTOM LINE
- Primary body: Previous-generation weather-sealed full-frame mirrorless, used. Sealing and stabilization over megapixels.
- Backup body: Sealed APS-C in the same mount. Redundancy is the point.
- Wide zoom: 16-35mm, earlier generation, f/4 if you are counting grams.
- Long zoom: 70-200mm f/4 over f/2.8 for anything involving elevation gain.
- Support: Used carbon travel tripod. Check leg locks, ignore scuffs.
- Protection: Used hard case for transport, dry bag and rain cover for the field.
- Filters: Circular polarizer and a three-stop ND. Inspect the coatings.
- Inspection priorities: Door gaskets, battery-compartment corrosion, shutter count, salt-air history.
None of this requires a National Geographic assignment or a five-figure budget. It requires choosing sealing over specs, weight over aperture, and used over new where the difference is a scratch nobody will ever see in the final frame. A complete adventure photography gear kit assembled this way will handle rain, altitude, and abuse for years. Used bodies, lenses, and support gear come up on GearFocus constantly, so if a piece of adventure photography gear is on your list, it is worth checking what is available right now.
FAQ
What camera gear do National Geographic adventure photographers actually carry?
Typically a weather-sealed mirrorless body, a wide zoom, a longer telephoto, compact support, and hard-case protection. DPReview’s profile of cliff photographer Andrew Kornylak describes exactly this kind of pared-down, harness-friendly setup.
Is used adventure photography gear reliable enough for backcountry work?
Yes, provided you verify weather sealing, inspect door gaskets, and check for corrosion. Cosmetic wear rarely affects function. A sealed used body outperforms an unsealed new one in real outdoor conditions.
Should I buy f/2.8 or f/4 zooms for adventure work?
For most outdoor shooting, f/4. The weight savings are substantial over long approaches, and you rarely shoot wide open in daylight. Save f/2.8 for low-light or shallow-depth priorities.
Do I need two camera bodies for adventure photography?
If you shoot somewhere you cannot easily return to, yes. Two used bodies often cost less than one new flagship, and redundancy protects assignments far better than newer sensors do.
When is the best time to buy used adventure photography gear?
Late summer and early fall, when one-trip buyers resell, and shortly after a successor model launches. Prices typically tighten during November and December gift season as supply absorbs.
Photo: Imad Clicks
Own one like this?
Make room for new gear in minutes.
